This recipe is one I return to often because it’s simple, dependable, and always delivers great results. It doesn’t require complicated techniques, yet the final texture and flavor feel thoughtfully balanced.
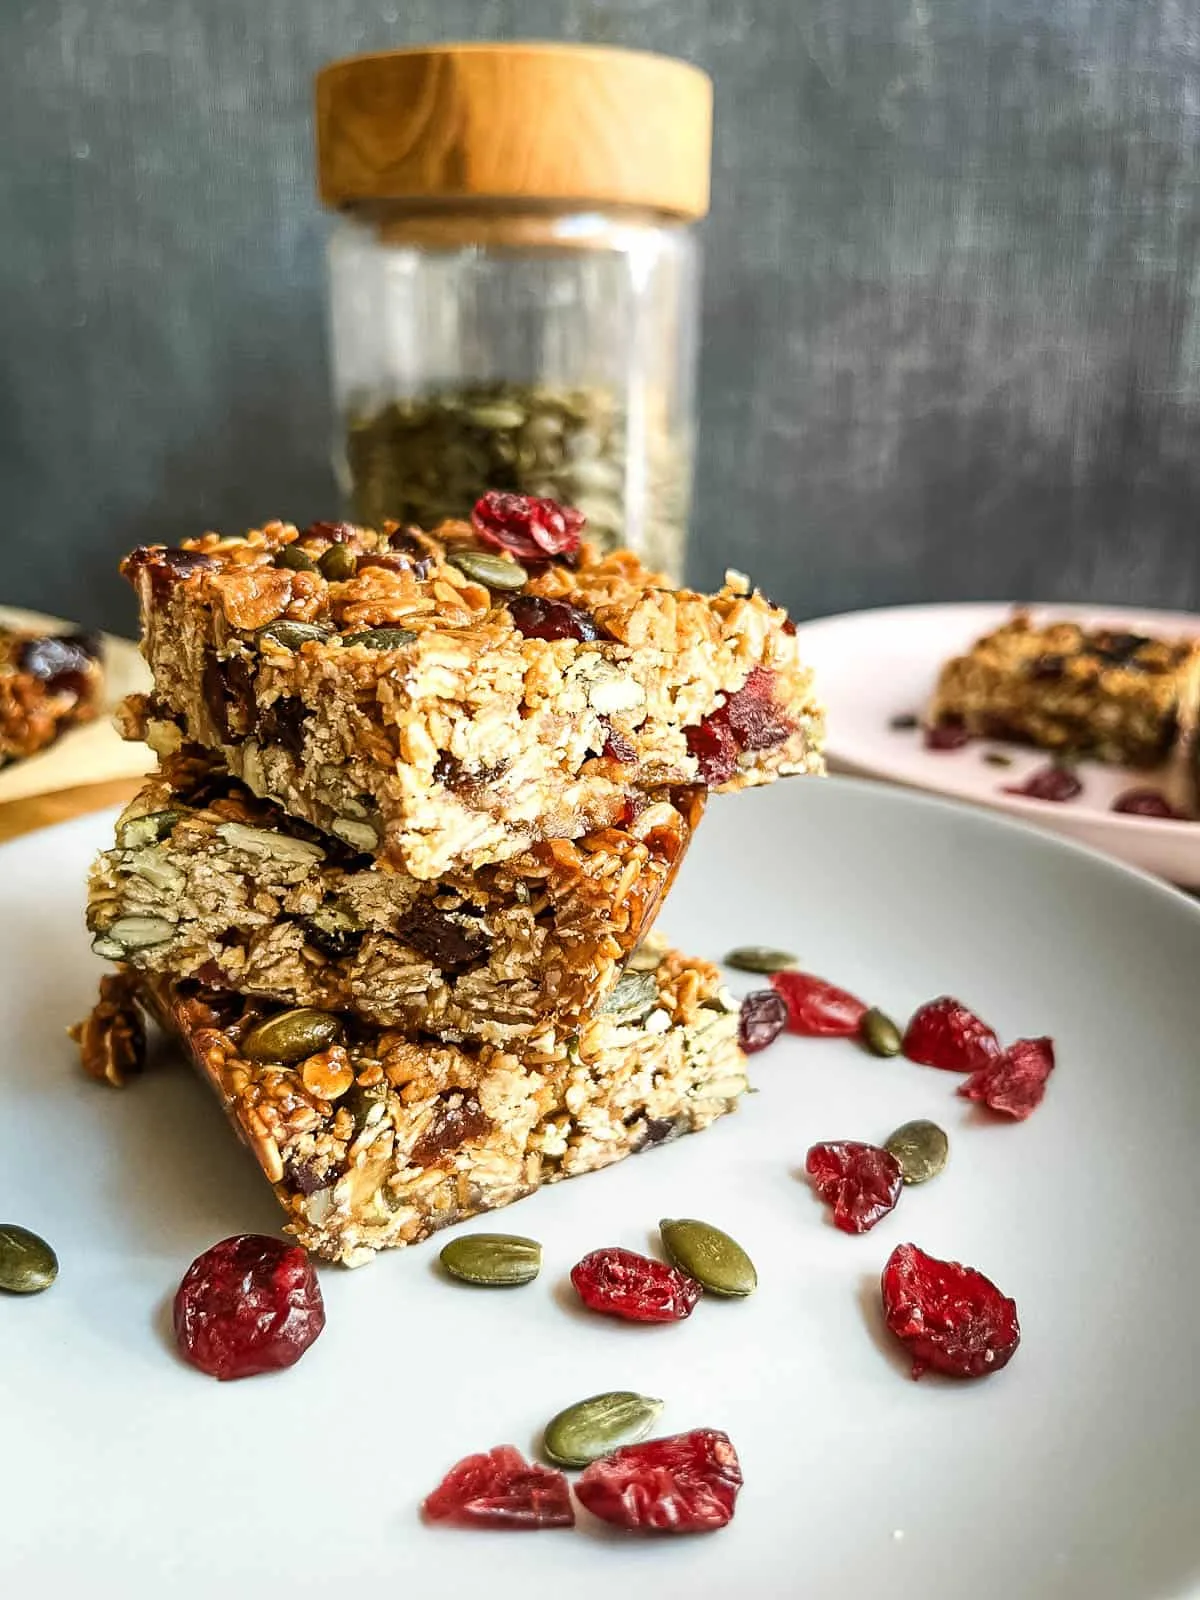
The chewy texture is one of the main reasons it stands out. The combination of butter, sugar, and syrup creates that soft, slightly sticky consistency that makes flapjacks so satisfying.
I also appreciate how flexible it is. You can switch up the granola, add different nuts or fruits, and adjust it based on what you have at home without affecting the overall result.
Another reason I keep making it is how well it stores. Once cooled, the flapjacks hold their shape and stay fresh for days, making them perfect for meal prep or quick snacks.
It’s a straightforward recipe that feels homemade and comforting every time, which is exactly what makes it worth repeating.
How to Make Easy Granola Flapjack?
Ingredients
- 125 g unsalted butter
- 75 g dark brown sugar
- 80 g golden syrup
- 225 g granola
- 100 g nuts and dried fruits
Equipment
- Large pan
- Weighing scales
- Baking paper or oven liner
- 20 cm x 20 cm baking tray
Instructions
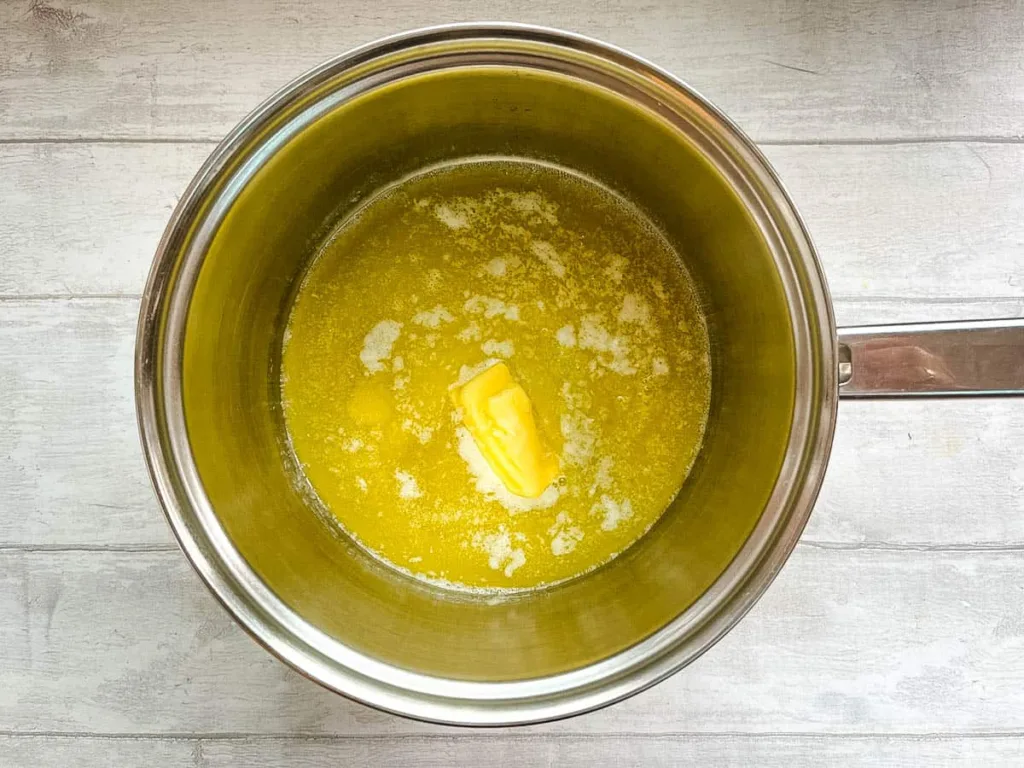
Step 1:
Preheat the oven to 180°C and gently melt the butter in a large pan over low heat until fully liquid.
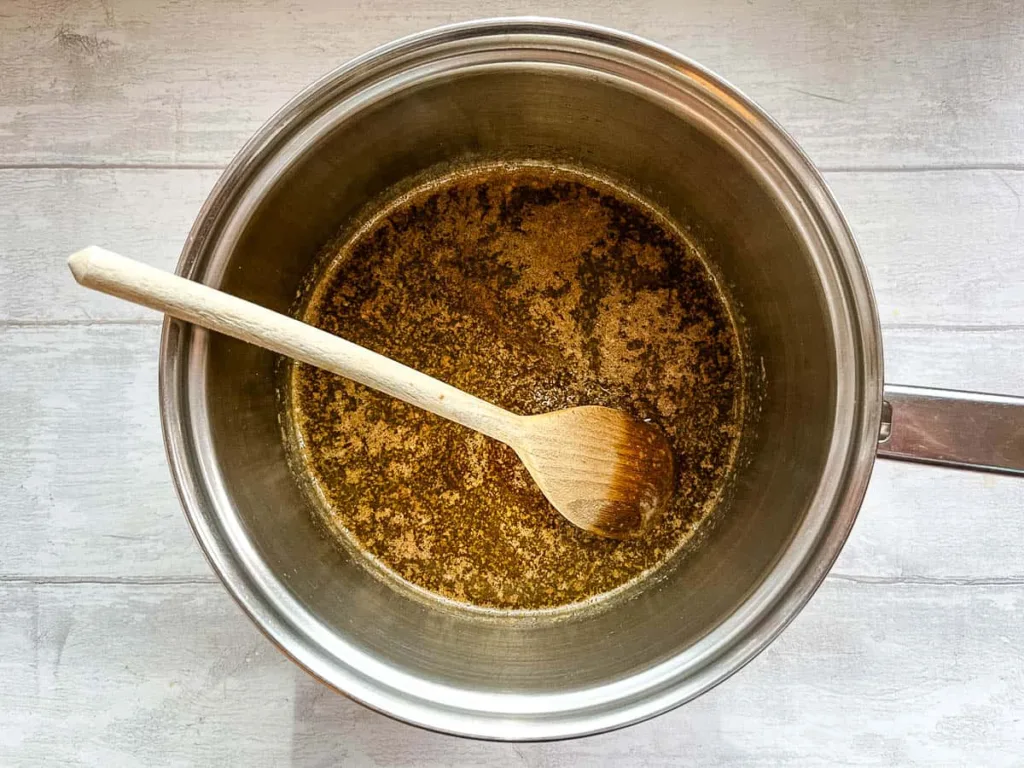
Step 2:
Add the brown sugar and golden syrup to the melted butter, stirring until everything is fully combined and smooth, then remove from heat.
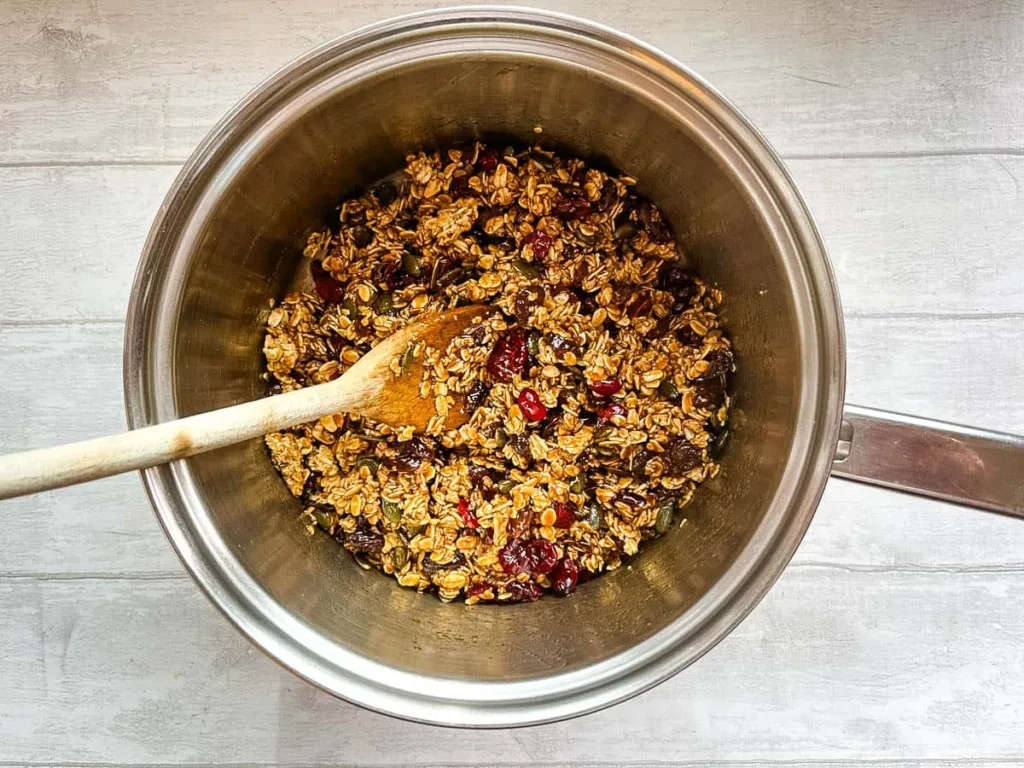
Step 3:
Stir in the granola along with the nuts and dried fruits, mixing well so everything is evenly coated.
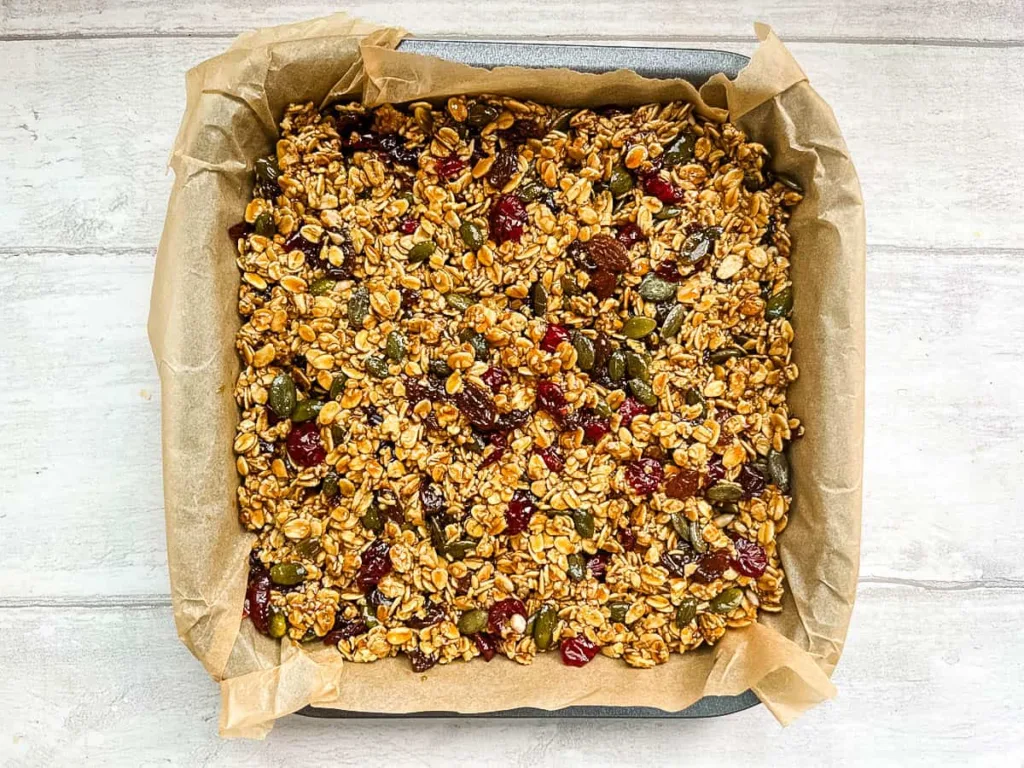
Step 4:
Line a baking tray with baking paper, transfer the mixture into the tray, and press it down firmly and evenly, making sure it reaches all corners.
Step 5:
Bake on the middle shelf for about 15 minutes until the edges turn lightly golden while the center remains slightly soft.
Step 6:
Remove from the oven and allow it to cool completely in the tray so it can firm up properly.
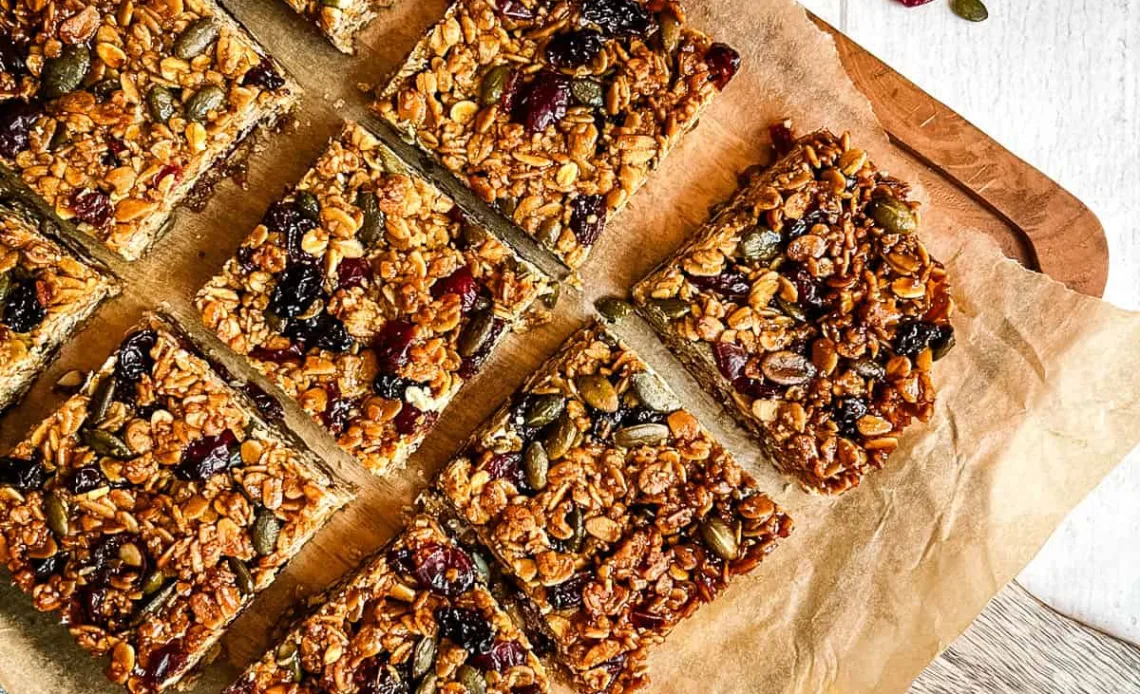
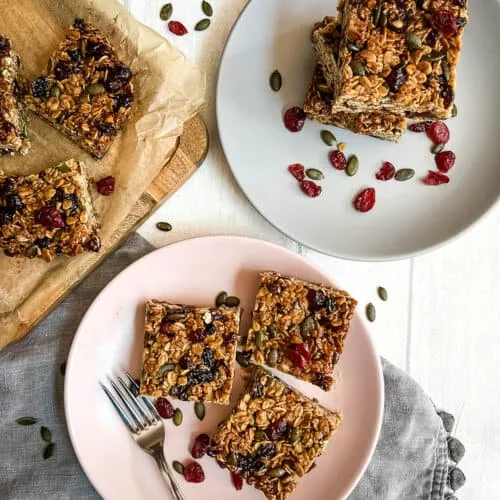
Step 7:
Once fully cooled, cut into squares or bars and serve.
Variations You Can Mess Around With
- Add chocolate chips once the mixture has cooled slightly for a sweet twist.
- Use honey instead of golden syrup for a different flavor profile.
- Add shredded coconut for extra texture and flavor.
- Mix in chopped nuts like almonds or walnuts for crunch.
- Add dried apricots or raisins for natural sweetness.
- Sprinkle seeds like chia or sunflower for added nutrition.
- Drizzle melted chocolate over the top after baking.
Pro Tips for Perfect Results
- Melt the butter on low heat. This prevents it from burning or separating.
- Stir the sugar and syrup until fully dissolved. This ensures a smooth mixture.
- Press the mixture firmly into the tray. This helps the flapjacks hold together.
- Spread evenly into the corners. This ensures even thickness while baking.
- Do not overbake the flapjacks. They should be lightly golden, not dark brown.
- Let them cool completely before cutting. This helps them set properly.
- Use baking paper for easy removal. This prevents sticking and breaking.
Flapjack Recipe
Ingredients
Equipment
Method
- Preheat the oven to 180°C and gently melt the butter in a large pan over low heat until fully liquid.
- Add the brown sugar and golden syrup to the melted butter, stirring until everything is fully combined and smooth, then remove from heat.
- Stir in the granola along with the nuts and dried fruits, mixing well so everything is evenly coated.
- Line a baking tray with baking paper, transfer the mixture into the tray, and press it down firmly and evenly, making sure it reaches all corners.
- Bake on the middle shelf for about 15 minutes until the edges turn lightly golden while the center remains slightly soft.
- Remove from the oven and allow it to cool completely in the tray so it can firm up properly.
- Once fully cooled, cut into squares or bars and serve.
Notes
Nutrition Information
| Nutrient | Amount per Serving |
|---|---|
| Calories | 304 kcal |
| Carbohydrates | 39 gm |
| Fat | 16 gm |
| Protein | 3 gm |
Note: Nutritional values are approximate and may vary depending on ingredient size, quality, brand, location, and the proportions used. All nutritional information is calculated on a per-serving basis.
If you are following a medically restrictive diet, please consult your doctor or registered dietitian before preparing this recipe for personal consumption.
Common Mistakes to Avoid
- Overheating the butter. This can affect the final texture of the flapjacks.
- Not mixing ingredients thoroughly. This leads to uneven flavor distribution.
- Pressing the mixture too lightly. This can cause the bars to crumble.
- Overbaking the flapjacks. This makes them too hard instead of chewy.
- Cutting before fully cooled. This prevents clean slices.
- Using the wrong tray size. This affects thickness and baking time.
- Skipping lining the tray. This can cause sticking.
How I Like to Serve These
- Serve as a quick snack with tea or coffee.
- Pack into lunchboxes for an easy treat.
- Enjoy as a quick breakfast on busy mornings.
- Drizzle with chocolate for a dessert-style version.
- Pair with yogurt for a more filling option.
- Cut into smaller bites for sharing.
Storage / Leftovers and Next-Day Thoughts
- Store in an airtight container at room temperature. This keeps them fresh longer.
- Keep for up to one week. They maintain texture well over time.
- Refrigerate in warm climates. This prevents them from becoming too soft.
- Let them sit at room temperature before eating. This softens them again.
- Avoid stacking without paper. This prevents sticking.
- Do not freeze for best texture. It can affect consistency.
- Great for make-ahead snacks. They stay consistent day after day.
FAQs
Can I use oats instead of granola?
Yes, you can substitute oats, but the texture will be slightly different.
What can I use instead of golden syrup?
Honey or maple syrup can work, though the flavor will change slightly.
Why are my flapjacks too crumbly?
They may not have been pressed firmly enough or needed more syrup.
Can I make them healthier?
You can reduce sugar slightly or add more seeds and nuts.
How do I keep them chewy?
Avoid overbaking and store them properly in an airtight container.
I’m Emma Parker, the writer and founder behind Emma’s Home Guide. This blog was created to share practical ideas, honest experiences, and helpful guidance for everyday living. My goal is to make home life feel easier, warmer, and more enjoyable, without pressure or perfection.