Some days, you just need a quick snack that’s ready when you are. No baking, no waiting around, and definitely no complicated steps. These No-Bake Protein Balls fit perfectly into that kind of routine, giving you something wholesome and satisfying without turning on the oven.
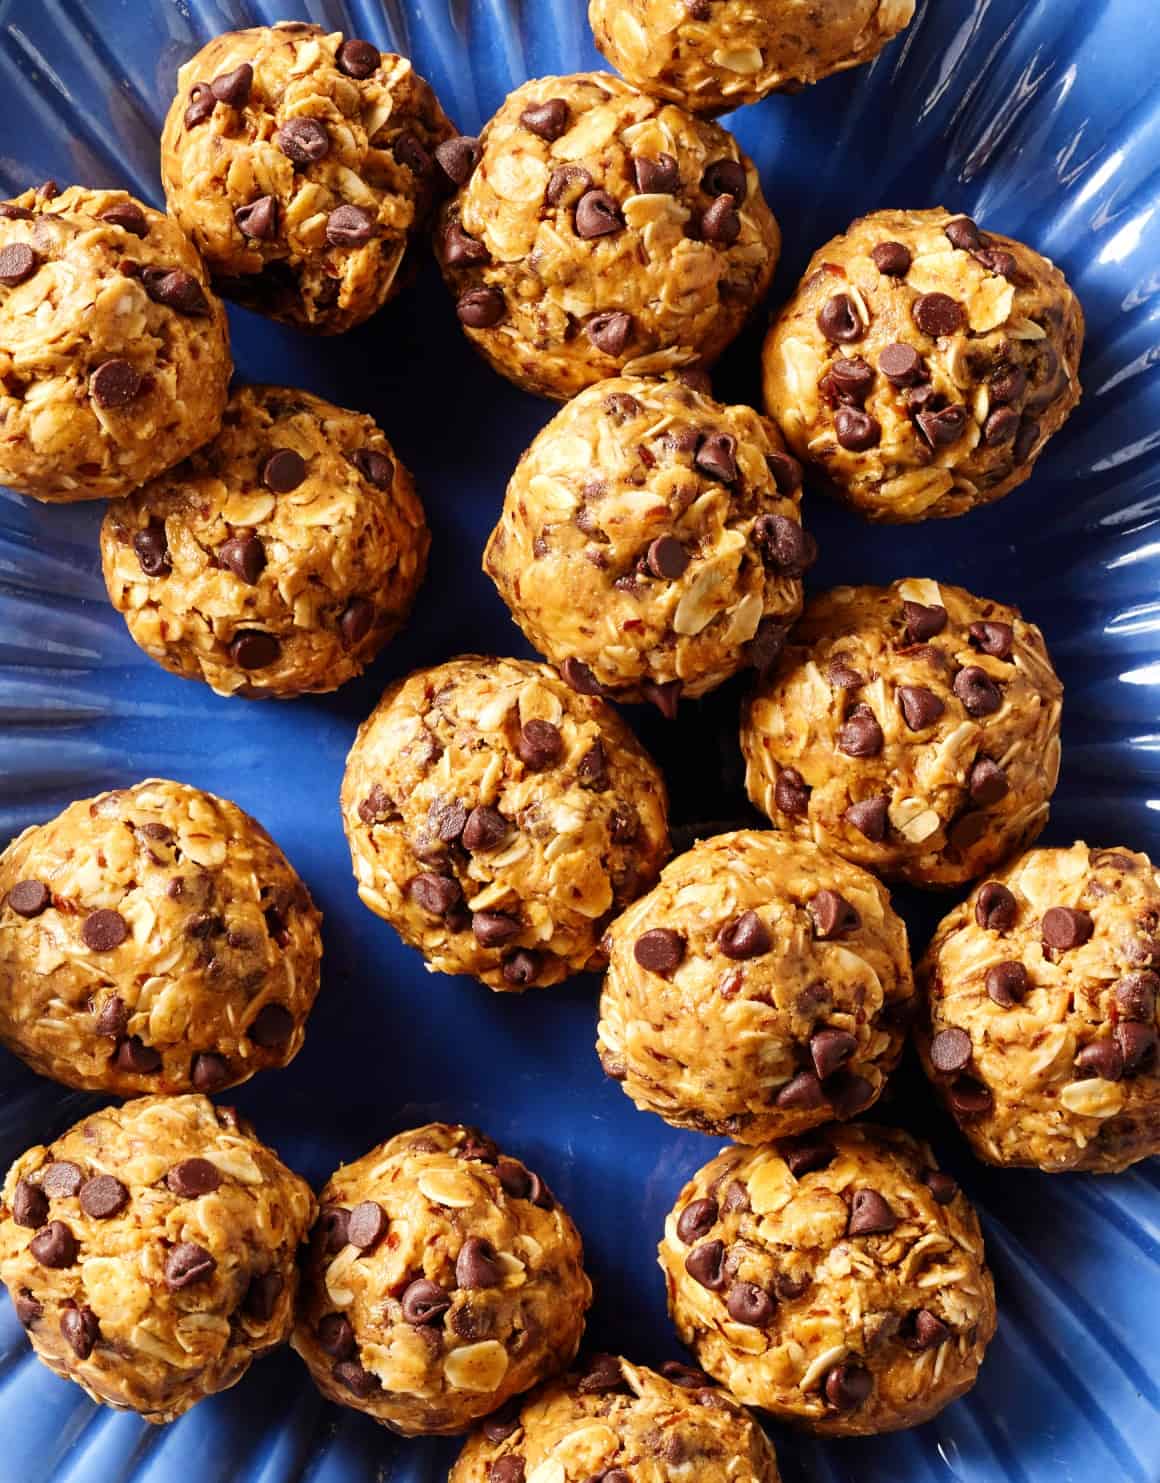
They’re soft, chewy, and naturally sweet, with a rich peanut butter base that holds everything together. The oats add a hearty texture, the chocolate chips bring little bursts of sweetness, and the protein powder makes them feel a bit more substantial than your average snack. Each bite is simple, balanced, and genuinely enjoyable.
What makes these especially practical is how easy they are to prepare ahead of time. You can mix everything in one bowl, roll them up in minutes, and keep them in the fridge for the week. Whether you need a quick breakfast, a post-workout bite, or something to curb afternoon cravings, these always come in handy.
Why I Keep Making This Protein Balls
I’ve tried a lot of homemade snack recipes over the years, but these protein balls are one of the few that consistently stay in my refrigerator week after week.
What I like most is how practical they are. They take only a few minutes to make, require no baking, and use ingredients I almost always have on hand. When I’m rushing out the door, need a quick afternoon snack, or want something after a workout, they’re already waiting for me.
I also appreciate how customizable they are. Some weeks I’ll add extra chocolate chips, other times I’ll mix in chia seeds or swap the peanut butter for almond butter. No matter how I change them, they always turn out delicious.
Most importantly, they satisfy cravings without feeling like a “healthy substitute.” They taste like a treat while still providing enough protein and fiber to keep me full.
What Kind of Protein Powder Should I Use?
This recipe uses unflavored protein powder. That keeps the peanut butter and chocolate flavors front and center.
You can use pea protein like listed, or another unflavored protein powder you enjoy. If you use a flavored one, just know it may change the taste a little.
If the mixture feels too dry, add a tiny drizzle of honey or peanut butter. If it feels too sticky, a spoonful of oats usually helps.
One thing I’ve noticed after making countless batches is that they’re actually better the next day. The oats soften slightly, the flavors blend together, and the texture becomes even more satisfying after chilling overnight.
Variations You Can Mess Around With
- Swap peanut butter with almond butter or cashew butter.
- Add shredded coconut for extra texture.
- Use dark chocolate chips for a richer flavor.
- Add chia seeds for extra nutrition.
- Mix in dried fruits like raisins or cranberries.
Pro Tips for Perfect Results
- Use natural peanut butter for the best consistency.
- If the mixture feels too dry, add a little more honey.
- Chill the mixture slightly before rolling if it feels too sticky.
- Roll tightly to help the balls hold their shape.
- Store in the fridge to keep them firm and fresh.
How To Make No-Bake Protein Balls?
Equipment
- Large mixing bowl
- Wooden spoon or spatula
- Cookie scoop
- Measuring cups and spoons
- Refrigerator
- Airtight container
Ingredients
- 1½ cups whole rolled oats
- 1 cup creamy natural peanut butter
- ¼ cup ground flaxseed
- ¼ cup honey
- 2 scoops protein powder, ¼ cup
- 1 teaspoon vanilla extract
- 6 tablespoons mini chocolate chips
- Pinch sea salt
Instructions
Step 1: In a large bowl, mix together the oats, peanut butter, ground flaxseed, honey, protein powder, vanilla extract, chocolate chips, and a pinch of sea salt. Stir until everything is fully combined. The mixture will be thick, and that is just right.
Step 2: Use a 2-tablespoon cookie scoop to portion the mixture. Roll each scoop between your hands to form a ball.
Step 3: Place the protein balls in the refrigerator and chill for 1 to 2 hours, or until firm.
Step 4: Store them in the fridge and enjoy throughout the week. They also freeze well if you want to make a double batch.
No-Bake Protein Balls
Ingredients
Equipment
Method
- Add the rolled oats, peanut butter, ground flaxseed, honey, protein powder, vanilla extract, chocolate chips, and sea salt to a large bowl.
- Mix thoroughly until fully combined. The mixture will be thick and slightly sticky.
- Use a 2-tablespoon cookie scoop to portion the mixture.
- Roll each portion between your hands to form smooth balls.
- Place the protein balls on a plate or tray and refrigerate for 1 to 2 hours, or until firm.
- Transfer to an airtight container and store in the refrigerator for up to one week.
- For longer storage, freeze and thaw as needed.
Notes
Nutritional Information
| Nutrient | Amount |
|---|---|
| Calories | 152 kcal |
| Carbohydrates | 14 g |
| Fat | 9 g |
| Protein | 5 g |
Note: Nutritional values are approximate and may vary depending on ingredient size, quality, brand, location, and the proportions used. All nutritional information is calculated on a per-serving basis.
If you are following a medically restrictive diet, please consult your doctor or registered dietitian before preparing this recipe for personal consumption.
What Do No-Bake Protein Balls Taste Like?
These protein balls have a soft, chewy texture that’s similar to an oatmeal cookie dough bite.
The peanut butter provides richness and helps bind everything together, while the oats add a hearty texture that makes each bite feel substantial. Mini chocolate chips bring little bursts of sweetness throughout, and the vanilla helps round out the flavor.
They’re sweet enough to feel satisfying but not overwhelmingly sugary, which makes them perfect for breakfast, snacks, or post-workout fuel.
If you enjoy peanut butter oatmeal cookies, granola bars, or energy bites, you’ll probably love these.
Common Mistakes to Avoid
- Not mixing thoroughly, leaving dry pockets in the mixture.
- Adding too much dry ingredient, making the mixture crumbly.
- Skipping the chilling step, causing them to fall apart.
- Making them too large, which affects texture and firmness.
- Using overly sweet protein powder, making them too sugary.
How I Like to Serve These
- As a quick grab-and-go snack during the day.
- With a cup of coffee for a light breakfast.
- As a post-workout energy boost.
- Packed in lunchboxes for an easy treat.
- Alongside fresh fruit for a balanced snack.
The Secret to Perfect Protein Balls
The biggest secret isn’t the protein powder it’s getting the consistency right.
Protein powders vary significantly between brands. Some absorb much more moisture than others, which means the mixture may need small adjustments.
The ideal mixture should hold together easily when squeezed in your hand. If it crumbles, add a little more peanut butter or honey. If it feels sticky, add a spoonful of oats.
After making these dozens of times, I’ve found that texture matters more than exact measurements.
Storage / Leftovers and Next-Day Thoughts
- Store in an airtight container in the refrigerator for up to one week.
- Keep them chilled to maintain firmness and texture.
- Freeze for longer storage and thaw when needed.
- They taste even better once chilled and set.
- Perfect for prepping ahead and enjoying throughout the week.
Final Thoughts
These No-Bake Protein Balls are proof that convenient snacks don’t have to be complicated. With simple pantry ingredients, minimal prep, and plenty of flexibility, they’re the kind of recipe you’ll find yourself making again and again.
Whether you’re looking for a post-workout snack, an easy breakfast option, or something to keep afternoon cravings in check, these little bites deliver a satisfying balance of flavor, texture, and convenience.
And if you’re anything like me, you’ll quickly learn that making a double batch is usually the right decision.
FAQs
Can I make these without protein powder?
Yes, you can omit it or replace it with additional oats or flaxseed.
Why is my mixture too dry?
It may need more peanut butter or honey to bind properly.
Can I use quick oats instead of rolled oats?
Yes, but the texture will be softer.
Are these good for meal prep?
Yes, they store well and are perfect for planning ahead.
Can I make them vegan?
Yes, just use a plant-based protein powder and maple syrup instead of honey.

I’m Emma Parker, the writer and founder behind Emma’s Home Guide. This blog was created to share practical ideas, honest experiences, and helpful guidance for everyday living. My goal is to make home life feel easier, warmer, and more enjoyable, without pressure or perfection.